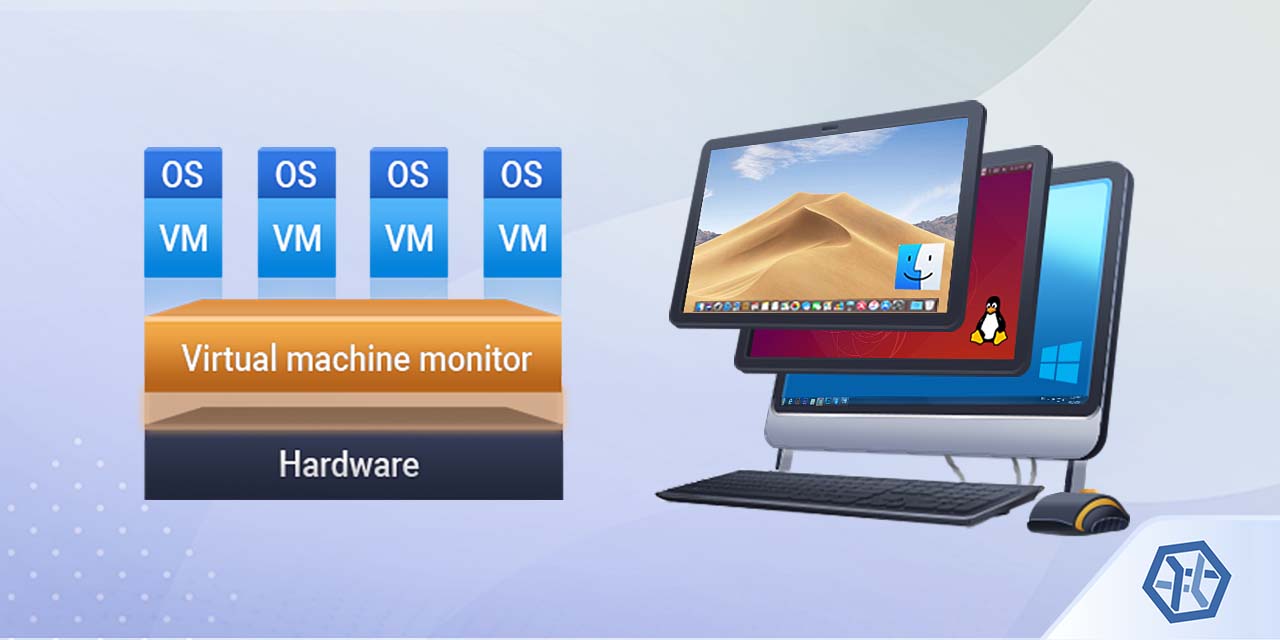
Setting up a virtual machine for malware testing is the safest and most effective way to analyze malicious software. Whether you’re reverse engineering ransomware or doing large-scale YARA signature work, this guide walks you through setting up a hardened, flexible malware analysis environment — from basic VM setup to advanced tools and tricks.
🔹 1. Choose a Virtualization Platform
To get started with a virtual machine for malware testing, you’ll need a hypervisor that supports snapshotting, networking isolation, and advanced resource control.
Recommended Options:
- ✅ VMware Workstation Player (Best all-around experience)
- ✅ Oracle VirtualBox (Free, highly configurable)
- ✅ Microsoft Hyper-V (Built into Windows Pro/Enterprise)
- ✅ KVM/QEMU + Virt-Manager (Ideal for Linux users and homelabs; supports SPICE and snapshots)
🔹 2. Pick and Install a Guest Operating System
Different analysis scenarios call for different OS configurations. Here are your top options:
- Windows 7/8.1/10/11 – Best for analyzing most real-world malware samples.
- 🐧 REMnux – A Linux distro tailored for reverse engineering and memory forensics.
- 🔥 FlareVM – A pre-configured malware analysis suite layered on top of Windows.
- ⚔️ Kali Linux – More pentest-focused, but useful for forensic toolkits.
💡 Tip: Always install from a clean ISO image. Avoid using pre-configured images from untrusted sources.
🔹 3. Configure the Virtual Machine
Proper configuration ensures your virtual machine for malware testing is performant, secure, and resilient.
VM Settings:
- 🧠 Memory (RAM): Minimum 4 GB, ideally 8+ for Windows VMs
- ⚙️ CPU Cores: At least 2, ideally 4+ for analysis tools
- 💾 Disk: Fixed-size disk, 25–50 GB to prevent stealthy expansion
- 🌐 Networking: Use Host-Only or NAT — never Bridged
- 🧯 Snapshots: Take one immediately after OS and tool installation
🔹 4. Harden the VM for Safety
Prevent malware from breaking containment or snooping on your host system.
Best Practices:
- ❌ Disable shared folders and clipboard sharing
- 🧾 Use a non-admin user account for daily testing
- 🕵️ Set up fake internet environments with:
- INetSim – Fake DNS, HTTP, FTP, etc.
- Fakenet-NG – Simulates common network services
- 🔁 Enable snapshot/rollback features
- 🧪 Set Windows Defender/AV to exclude your hypervisor and analysis folders
💡 Pro Tip: Run super sketchy samples in an internal-only network and pair your test VM with a second VM running INetSim or Fakenet-NG to mimic a command-and-control (C2) server safely.
🔹 5. Essential Malware Analysis Tools
After setting up your virtual machine for malware testing, these tools will help you analyze behavior, gather indicators, and perform deep inspection.
✅ Static Analysis Tools
| Tool | Purpose |
|---|---|
| VirusTotal | Multi-engine scan (hash or file-based) |
| Detect It Easy (DIE) | Identify packers and obfuscators |
| ExeInfoPE | Similar to DIE; great for signature-based detection |
| ILSpy | .NET decompiler |
| PEStudio | Analyze PE headers and imported libraries |
| IDA Free | Disassembler for binaries |
| PE-Bear | Lightweight PE structure viewer |
| Strings / Sysinternals | Extracts plaintext strings from binaries |
✅ Dynamic Analysis Tools
| Tool | Purpose |
|---|---|
| Wireshark | Network traffic monitoring |
| Process Monitor (ProcMon) | Monitors registry, file, and process activity |
| Process Explorer | Powerful task manager from Sysinternals |
| ANY.RUN | Cloud-based dynamic sandbox |
| Redline (FireEye) | Lightweight memory and system forensic tool |
| FlareVM Suite | Power-user malware analysis environment |
✅ Sysinternals Suite (Must-Have)
Includes:
🔹 Autoruns
🔹 TCPView
🔹 Strings
🔹 VMMap
🔹 AccessChk
🔹 PsExec
💡 Pro Tip: Bundle the full Sysinternals Suite in your base snapshot.
🔹 6. Automation and Bulk Sample Analysis
⚙️ Cuckoo Sandbox
For repetitive or large-scale malware triage, Cuckoo is an open-source sandbox that automates execution, memory capture, and report generation. Ideal for:
- Signature development
- IOC extraction
- YARA rule testing
🔹 7. Safe Malware Execution
Follow these precautions when executing malware samples:
- ⛔ Disconnect from the internet unless necessary
- 🧪 Monitor everything: file writes, registry keys, network calls
- 🔁 Always revert to a clean snapshot after testing
- 🕸️ Use fake internet (INetSim/Fakenet-NG) to analyze C2 behavior
- 🧬 Clone the VM before testing ransomware
🔹 8. Memory Forensics and Artifact Collection
After execution, collect memory dumps or volatile artifacts.
Top Tools:
- Volatility – Full-fledged memory forensics framework
- Redline – Quicker, simpler memory artifact gathering
- Ghidra – Advanced static analysis (disassembly & decompilation)
- YARA – Rule-based pattern matching
🔹 9. Documentation & Reporting
Maintain structured records of every test:
- 🧾 Process tree and spawned children
- 🌐 Outbound network connections (domains, IPs, ports)
- 🗃️ File system modifications
- 🧠 Registry changes
- 🔄 Persistence mechanisms (services, tasks, run keys)
Tools like Maltego, CaseNotes, or even a simple Markdown template can help organize your findings.
✅ Final Thoughts
With your virtual machine for malware testing in place, you’re equipped to dive into the fascinating (and sometimes dangerous) world of malware analysis. Whether you’re reverse engineering malicious binaries, researching ransomware behavior, or crafting custom YARA rules, a well-prepared VM lab is your first line of defense.
This guide includes a wealth of tools, platforms, and community resources—from dynamic analysis utilities to fake internet services and automated sandboxes. While it may seem like a lot at first, the best path forward is to take your time.
🧭 How to Move Forward Safely:
🚫 Never skip safety: Even with a locked-down environment, treat every malware sample like it’s out to get you — because it is. Snapshots, fake networks, and rollback strategies are your best friends.
🔍 Explore the tools: Spend a bit of time with each one — open PEStudio, play around with ProcMon, load a sample in Ghidra, run a benign test through INetSim. The more familiar you are, the safer and more confident you’ll be during real analysis.
🧰 Customize your VM lab: Tweak things to your liking — maybe you prefer Sysmon logs, maybe you automate snapshot reverts, maybe you use Notion or Obsidian for note-taking. Make it yours.
🧪 Start small: Begin by analyzing benign test samples or well-documented malware in a controlled setting. Build muscle memory before you dive into nation-state backdoors or polymorphic loaders as mentioned in our file infectors 101 guide.
🧠 Resources & Communities
- 🔎 Malpedia
- 💬 MalwareTips Forums
- 🧪 Hybrid Analysis
- 📚 [RECON and Malware Analysis YouTube Channels]
- 🧰 Reverse Engineering StackExchange
The world of malware analysis is deep, complex, and always evolving — but you’re already taking the right first steps by setting up a safe and powerful virtual machine lab. Master your environment, learn your tools, and then go explore safely.

